Installing Pulse Secure Software
In the event that you need to work remotely, there are remote access tools available to you. Follow the instructions outlined below to access Western’s secured, shared drives.
Install Pulse Secure
Pulse Secure is an application that creates a secure VPN (Virtual Private Network) between your home computer and Western’s servers. Basically, it is a secure virtual connection between devices used off campus and our W: drive and our H: drive.
- Complete the following steps remotely (i.e. while off campus)
- Determine whether your computer is 32 or 64 bit:
- Windows 10 and Window 8.1
- Select the Start button, then select Settings > System > About
- Open About settings
- At the right, under Device specifications, see System type
- Windows 7
- Select the Start button, right-click Computer, and then select Properties
- Under System, see the system type
- Choose the appropriate Pulse Secure application from WTS by clicking HERE
- You will be given a series of options of applications to choose from, based on whether you have Windows, Mac, or Linux and whether your computer is 64 bit or 32 bit.
- Once you have identified the appropriate application for your device, click on the corresponding hyperlink. Click Save File.
- Once the file has been saved, look for the file in your downloads folder on your pc.
- Double click on the file to install the software. Follow the instructions as displayed on the screen. Once the file has installed, click finish.
- The Pulse Secure icon is in the bottom right hand corner of your pc.
- Click on the icon to open Pulse Secure
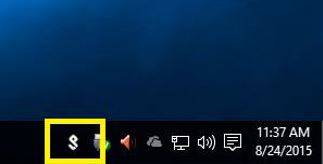
- Once downloaded, Pulse Secure will appear in your System Tray (the bar at the bottom right-hand corner of the screen). Double click on the highlighted icon to open the application
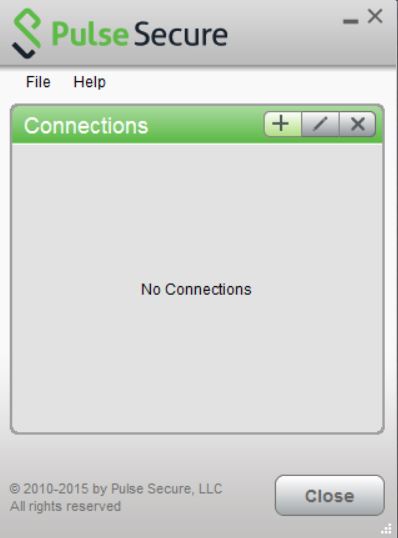
- Click + to add a new connection. This screen will appear.
- Configure Pulse Secure as per the settings below, click Add
- Select Type: “Policy Secure (UAC) or Connect Secure (VPN)”
- Type in Name: WesternU
- Server URL: remote-gate.uwo.ca
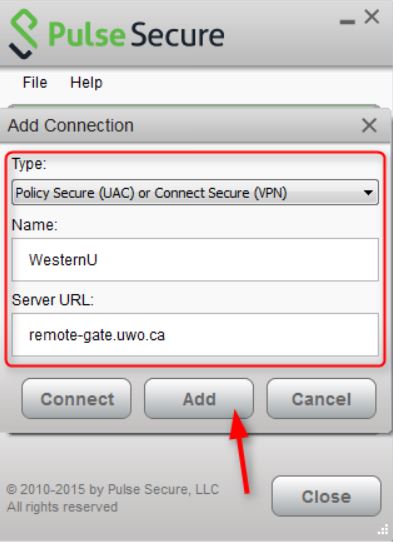
- The configuration is now complete.
- To use Pulse Secure click Connect next to WesternU and select UWO as the Realm.
- Enter your Western User ID and Password and Click Connect. You will now be connected to the WROAMs (Western’s Remote Office Access Management) service.
- Pulse Secure is now active on your pc.


