Adding OpenGraph Tags to Events
Begin these steps only after you have created your event as you normally would in Luminate Online
Upload your OpenGraph image
1. Find your event on the Luminate Online calendar. Click on it and then click Edit
2. Click on step 3. Configure Additional Information in the left column on the page
3. Click on the add an image button

4. Click on the "Browse Image Library" button
5. Click on the "Add New Image" button
6. Click the "Browse" button
7. Find the OpenGraph image for the event on your computer and click on it. Image should be sized 1200 x 630.
8. Click on the Open button in the bottom right corner
9. Click on the "Upload" Button
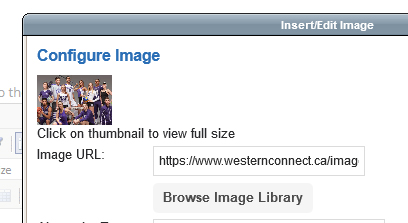
10. Select the entire Image Url from the field and copy it (Ctrl + C) and paste it into Notepad for later use. Then click the "Cancel" button.
Add the OpenGraph tags to your event
11. Click on the "Use Plain Text Editor" link in the top right corner of the editor to switch over to the HTML view.
12. Copy and Paste the following code at the top of your event code
[[U5:metatags=
<meta property="og:title" content="TITLE GOES HERE</span >" />
<meta property="og:type" content="website">
<meta property="og:description" content="DESCRIPTION GOES HERE" />
<meta property="og:image" content="IMAGE URL GOES HERE" />
<meta property="og:image:secure_url" content="IMAGE URL GOES HERE" />
<meta property="og:image:type" content="image/jpeg" />
<meta property="og:url" content="EVENT PAGE URL GOES HERE" />
<meta name="twitter:card" content="summary_large_image" />
<meta name="twitter:description" content="DESCRIPTION GOES HERE - MAX 124 Characters</span >" />
<meta name="twitter:title" content="TITLE GOES HERE - MAX 55 Characters</span >" />
<meta name="twitter:site" content="@westernuAlumni" />
<meta name="twitter:image" content="IMAGE URL GOES HERE" />
<meta name="twitter:creator" content="@westernuAlumni" />
]]
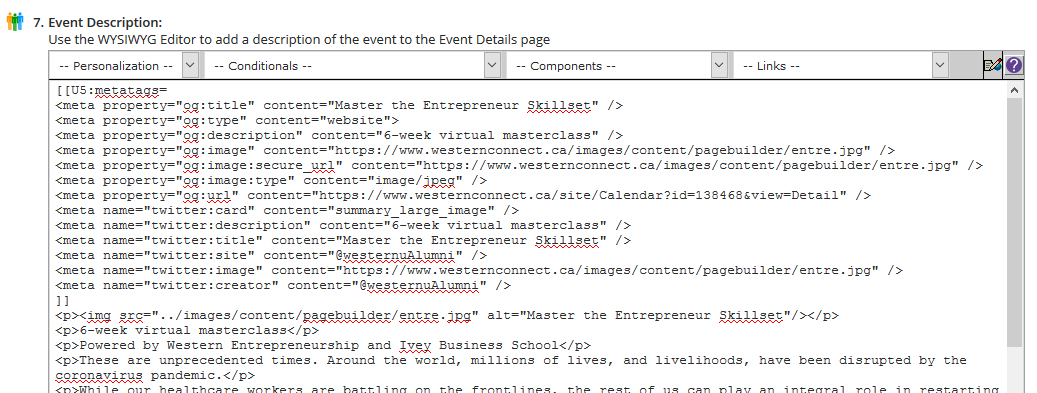
13. Update the items hilighted in yellow above with the appropriate information that relates to your event. All of the image urls should be what you copied in step 10. When completed correctly it will look similar to the below screenshot
14. Click the save button at the bottom of the page
Initialize and check your event OpenGraph tags on the Twitter or Facebook validator sites
15. Go to https://cards-dev.twitter.com/validator
16. Enter your event URL in the Card URL field and click Preview
17. If the preview matches what you expect to see you are done
18. Go to https://developers.facebook.com/tools/debug/
19. Enter your event URL in the URL field and click Debug
20. If the content displayed is not updated with your event info hit the "Scrape Again" button until it does (sometime this may take a few tries ¯\_(ツ)_/¯ ).
21. Once the preview matches what you expect to see you are done